
Are you tired of waiting for your movie scene to render? Using Unreal Engine's Movie Render Queue with a network of computers lets you speed up render times without losing quality. Picture each part of your scene working in its own spot, cutting wait times and reducing errors. In this post, we show you how linking Unreal Engine's render tools with a distributed system can save time and inspire more creative, smoother movie production.
Implementing Unreal Engine Render Farm for Movie Render Queue
Unreal Engine’s Movie Render Queue helps you create high-quality movie clips, trailers, and promotional content. With this tool, you can set details like resolution, frame rate, file type (.jpg, MP4, .mxf, ProRes QuickTime), output folder, and naming rules. It also offers options like anti-aliasing (smoothing edges), motion blur, and advanced tracing (using ray or path tracing) to ensure your final product looks polished. For instance, you might use a script such as "RenderJob –resolution 1920×1080 –frames 1-300 –output shot_001_*" to automate these settings.
Unreal Engine 5.4 introduced the experimental Movie Render Graph, a new layered workflow that builds on the Movie Render Queue features. When you pair this with a distributed render farm, a system that uses several GPU and CPU nodes, you can process multiple shots or entire sequences at the same time. This setup transforms a single-machine bottleneck into a fast, scalable pipeline. It’s like assigning each sequence to a dedicated node, which speeds up rendering and reduces the chance of settings errors.
Keeping render settings and job scheduling in one central place is key for smooth film production. You can run command-line or Python scripts to apply consistent tweaks, such as refined anti-aliasing and motion blur for each shot. This distributed method allows you to handle high render volumes while ensuring each asset maintains top quality. It also cuts down on manual work and minimizes errors during hectic production periods.
By combining Unreal Engine’s Movie Render Queue with a distributed render farm, studios gain an efficient and scalable system for managing movie renders. This integration helps lower turnaround times and enhances the creative workflow for large projects.
Hardware and Software Requirements for UE Distributed Movie Rendering
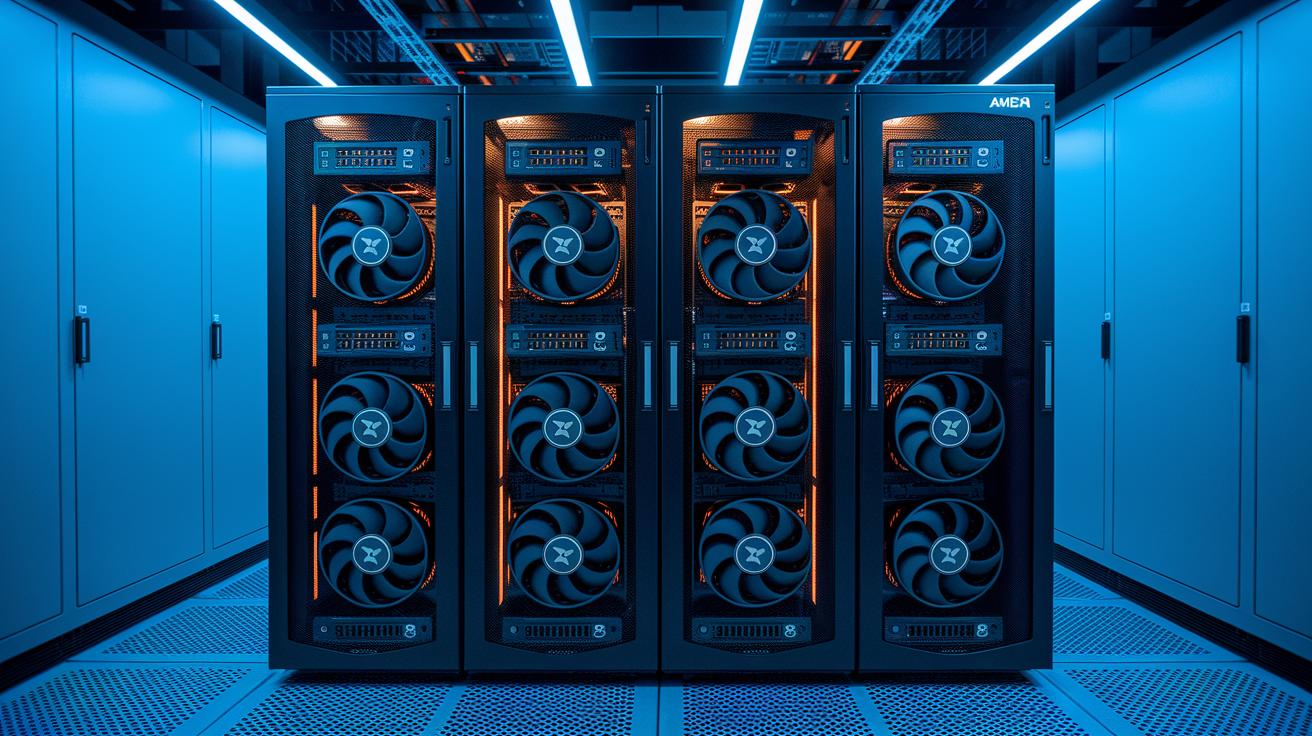
Building a stable render farm for Unreal Engine's Movie Render Queue means using strong, workstation-grade hardware and reliable software. We rely on high-performance graphics processing units like the NVIDIA RTX 4090 and powerful AMD Ryzen Threadripper PRO processors. For example, the 3955WX runs between 3.9 and 4.2 GHz, while the 5975WX offers speeds from 3.6 to 4.5 GHz. Each node is typically set up with 256 GB of RAM and a 2 TB NVMe SSD to quickly handle high-resolution frames and large datasets.
On the software side, everything must work together smoothly. You will need a consistent version of Unreal Engine along with the Movie Render Queue plugin. Shared storage using SMB or NFS protocols ensures all nodes can access the same data. Render management tools like Deadline or Muster help you assign jobs and balance workloads. For example, running a simple script such as "CheckUE –v 5.4" confirms that every node is using the right engine version before starting tasks.
Using these render management tools, tasks are allocated based on each node's workload and overall system health. This careful pairing of hardware and software creates a scalable system that meets the demanding needs of modern film production and movie asset management.
Network-Based Compute Clustering and Node Synchronization
Render nodes join a network that runs at 10 Gigabit Ethernet or more. This high-speed connection gives every node access to shared storage. A master scheduler then sends out tasks using clustering software that assigns work without hassle. For instance, when you run a command like "dispatchFrame –id 105", it sets off frame assignments on several nodes at once. Timecodes and frame seeds ensure that each render stays in sync, so every frame fits perfectly with the rest.
Locking protocols stop two nodes from writing to the same file at once. Meanwhile, cache pre-warming helps reduce delays from input/output work. Together, these techniques ease data conflicts and make sure that every node gets the assets it needs without waiting. Regular health checks and automatic failover steps keep the system strong. If one node temporarily drops out, another quickly steps in, saving valuable render time.
A multi-node scheduling system works closely with node synchronization methods by tracking the performance of every node. The management software checks each node's status and moves workloads around as needed. This parallel processing method balances the load evenly. It also makes sure that each shot in your Movie Render Queue runs at the right time and in order.
For best practices on setting up GPU (graphics processing unit) cluster architectures, please see building gpu clusters.
Configuring Unreal Engine’s Movie Render Queue at Scale

When you automate Movie Render Queue (MRQ) settings, your workflow stays smooth even with many shots to process. You can start batch jobs using command-line tools or Python scripts. For example, running a command like:
python render.py –preset HighQuality –frames 1-500
automatically applies the high-quality settings to every shot.
Using Movie Render Graph presets along with shot-specific adjustments gives you precise control over effects like anti-aliasing (smoothing of edges) and codec options (methods for compressing video). Building a library of presets cuts down on manual tweaks, saving time and reducing errors. You might even use a script that picks a preset based on the scene’s frame rate, such as:
preset = 'MotionBlurLow'
for fast-paced sequences.
Interoperability with non-linear editing (NLE) tools is also simple. You can import shot lists from EDL or XML files with a command like:
importEDL –file ProjectTimeline.xml
This step easily brings your timeline data into the render pipeline and links post-production schedules with rendering tasks.
To keep everything compatible, centralize your plugin and engine versions. Ensuring every node runs the same versions of Unreal Engine and MRQ plugins helps avoid integration issues. You can manage this with a shared configuration file that all nodes reference. For instance, a command like:
config.read('engine_version.cfg')
keeps your render farm in sync.
By automating these settings and managing your presets centrally, you build a scalable solution that integrates seamlessly with your editing tools. These techniques make handling complex render jobs efficient, even as your project grows.
Performance Optimization in GPU-Accelerated Film Processing
We begin by benchmarking test scenes that combine ray tracing and motion blur. For example, testing a scene with complex lighting and detailed shadows helps you see how different settings affect render time. A good tip is to run a command like "runBenchmark –scene rayTracingTest" so you can track baseline performance before making any changes.
Next, adjust scalability settings such as level-of-detail (LOD) bias, texture streaming, and temporal sampling. Tweaking the LOD bias (which controls the level of detail at varying distances) can improve output quality , you might run a command like "setLOD –bias 0.5" to fine-tune it. Adjusting texture streaming ensures that high-resolution assets load only when needed, saving GPU memory. Changing temporal sampling settings can smooth frames while keeping render times in check. Distributing tasks evenly by assigning them to specific GPUs across nodes also prevents overload and keeps every resource busy.
Finally, monitor GPU usage closely to prevent thermal throttling, which can cut performance during heavy workloads. Automated scripts can check each frame with output-frame checksums to catch problems early. For more tips on optimizing GPU tasks in production, please check our guidelines at optimizing gpu performance for production workloads. Regular benchmarking and careful tuning make sure your render farm maintains steady throughput and consistent visual quality.
Automated Job Scheduling and Load Balancing for Movie Renders

Render-queue managers help simplify job batching by letting you set priorities, dependencies, and retry rules for each render task. For example, you might run a command like "scheduleJob –priority high –retry 3" to make sure key sequences are fast-tracked while less urgent tasks wait.
Dynamic task allocation means the system automatically chooses the best method, either round-robin (evenly spreading the tasks) or weighted (assigning tasks based on node capacity), to balance the load. With metadata tags like "high-res" versus "proxy," the system processes sequences according to available resources. A simple flag, such as "–mode highRes," tells nodes how to handle these tasks differently.
Automated scheduling lets you run non-critical batches during off-peak times, cutting the risk of overload and keeping your workflow smooth. A real-time dashboard displays queue status, job progress, and any dependency alerts. This tool not only shows what’s happening right now but also offers insights to refine your scheduling setup.
Integrating these scheduling techniques into your render farm means your tasks are efficiently spread across multiple nodes, scaling easily with project demands while keeping resource use fair.
Cloud Integration and Cost-Efficient Virtual Production Pipelines
Expanding your on-premise render farm to the cloud gives you the flexibility you need to handle large-scale movie renders without breaking the bank. With a hybrid setup, you can shift high-demand workloads to AWS or Azure GPU instances while keeping other tasks running smoothly. For non-critical passes, using spot instances (temporary, lower-cost cloud resources) helps lower expenses while still delivering reliable performance. You might even kick off cost-saving renders with a simple command like "renderJob –mode=spot".
We manage costs by auto-scaling resources based on the number of tasks in the queue. As more render jobs come in, additional cloud resources spin up automatically, and when the load drops, they scale back down to reduce idle expenses. A distributed task orchestration system assigns each render job to the most suitable cloud node. For instance, you could use a command like "autoscale –check-queue" to keep everything balanced.
Cloud integration also boosts asset management. By synchronizing assets with S3 and applying lifecycle rules, you ensure data stays accessible while storage costs remain under control. This setup can automatically move older assets to a more affordable storage tier.
Building these environments with Infrastructure as Code (IaC) tools, such as Terraform (a tool to define and provision data center infrastructure), means you get reproducible and predictable deployments. A command like "terraform apply -var 'env=production'" helps maintain consistency every time you deploy.
This approach not only extends your local render farm but also fits right into virtual production workflows. With these methods, you stay agile during busy production cycles while keeping operational costs tightly managed.
Case Study: iRender Implementation for Unreal Engine Movie Render Farms

iRender is a clear example of how a cloud-based render farm can join a movie production pipeline using Unreal Engine’s Movie Render Queue. We use NVIDIA RTX 4090 GPU nodes paired with AMD Ryzen Threadripper PRO 3955WX and 5975WX CPUs. Each node includes 256 GB of RAM and a 2 TB NVMe SSD, with flexible options from 1 to 8 GPU instances. This setup meets the high demands of GPU-accelerated film processing while giving plenty of room for performance.
By adding the Unreal Engine Movie Render Queue plugin, iRender shifts render tasks away from local workstations. In our tests, a scene that usually takes 100 minutes locally can finish in just 20 minutes. This means you save a lot of time, which is key when you need to quickly visualize scenes and revise them during production.
The iRender solution also integrates easily into a virtual production pipeline. It handles complex visual tasks, like motion blur, anti-aliasing, and advanced path tracing, fast and reliably. We offer global support on weekends, with a dedicated team available from Saturday at 6:00 AM to Sunday at 11:59 PM to help manage tight schedules and international projects.
In various projects, iRender has proven it can handle heavy render queues while keeping quality high. By combining strong hardware, scalable cloud infrastructure, and smooth Unreal Engine integration, we deliver a dynamic and efficient solution for movie render pipelines in professional environments.
Final Words
In the action, teams combined robust scheduling, advanced GPU settings, and smart cloud integrations to streamline large-scale movie renders. We highlighted solid hardware, unified network setups, and dynamic load balancing to support seamless production workflows. These steps show how distributed node strategies can enhance batch processing and maintain system reliability during peak projects. This article demonstrates that an unreal engine render farm for movie render queue can drive faster, predictable outcomes while keeping costs in check. Great progress means more time for creative exploration and achieving production excellence.
FAQ
Unreal Engine Movie Render Queue
The Unreal Engine Movie Render Queue is a system that produces high-quality movie outputs. It offers customizable settings like resolution, frame rate, and codec, ensuring detailed results for cinematic projects.
Unreal Engine 5 movie render queue crash
The Unreal Engine 5 movie render queue crash indicates underlying issues such as hardware limits or configuration conflicts. Reviewing logs, updating plugins, and verifying system specs can help resolve these problems.
Unreal Engine movie render queue documentation
The Unreal Engine movie render queue documentation provides detailed guides on setup, configuration, and troubleshooting. It helps users leverage advanced settings for effective cinematic rendering and production workflows.
Fox render farm Unreal Engine
The Fox render farm for Unreal Engine offers distributed rendering capabilities across multiple nodes. This setup optimizes batch processing and improves render times for film and visual effects projects.
UE5 Movie Render Queue
UE5 Movie Render Queue delivers advanced rendering features such as motion blur and anti-aliasing. It integrates the Movie Render Graph for layered workflows, resulting in highly refined cinematic outputs.
Unreal Engine Distributed rendering
Unreal Engine distributed rendering spreads rendering tasks across multiple GPU and CPU nodes. This parallel processing approach shortens render times and boosts efficiency for large-scale production projects.
How to render in Unreal Engine 5
Rendering in Unreal Engine 5 involves using the Movie Render Queue. You set up your scene, choose output settings, and start the render, optionally using scripts or distributed render farms for greater scale.
Unreal Engine Movie Render Queue anti aliasing settings
The Unreal Engine Movie Render Queue anti aliasing settings allow you to smooth edges by selecting specific methods and quality levels. This process reduces visual artifacts and produces crisp, clean renders.
What is the movie render pipeline in Unreal?
The movie render pipeline in Unreal refers to the complete workflow from scene setup to final output. It uses the Movie Render Queue to apply visual enhancements and export high-quality movie content.
How do you use the movie render queue in Unreal Engine?
You use the movie render queue in Unreal Engine by configuring output settings, applying presets, and scheduling rendering tasks. This can be done manually or automated through scripts and render management tools.
Does Hollywood use Unreal Engine?
Hollywood uses Unreal Engine for virtual production and real-time visual effects. Its advanced rendering and integration capabilities help create cinematic visuals in film and television productions.
How do I choose the right render farm?
Choosing the right render farm involves assessing hardware performance, software compatibility with Unreal Engine’s render queue, and scheduling tools. Evaluate cost efficiency and scalability to meet the needs of your project.