

Ever wondered why some projects finish quickly while others drag on? With Maya GPU rendering, you can reduce render times by nearly 40%. Imagine your computer running on a powerful graphics processing unit like the RTX 3090 (which comes with 24 GB of video memory) that produces detailed scenes in real time. This boost gives you more time to explore new ideas and less time waiting, making your creative workflow smoother and more rewarding.
GPU Rendering Fundamentals for Maya: Benefits & Performance Overview
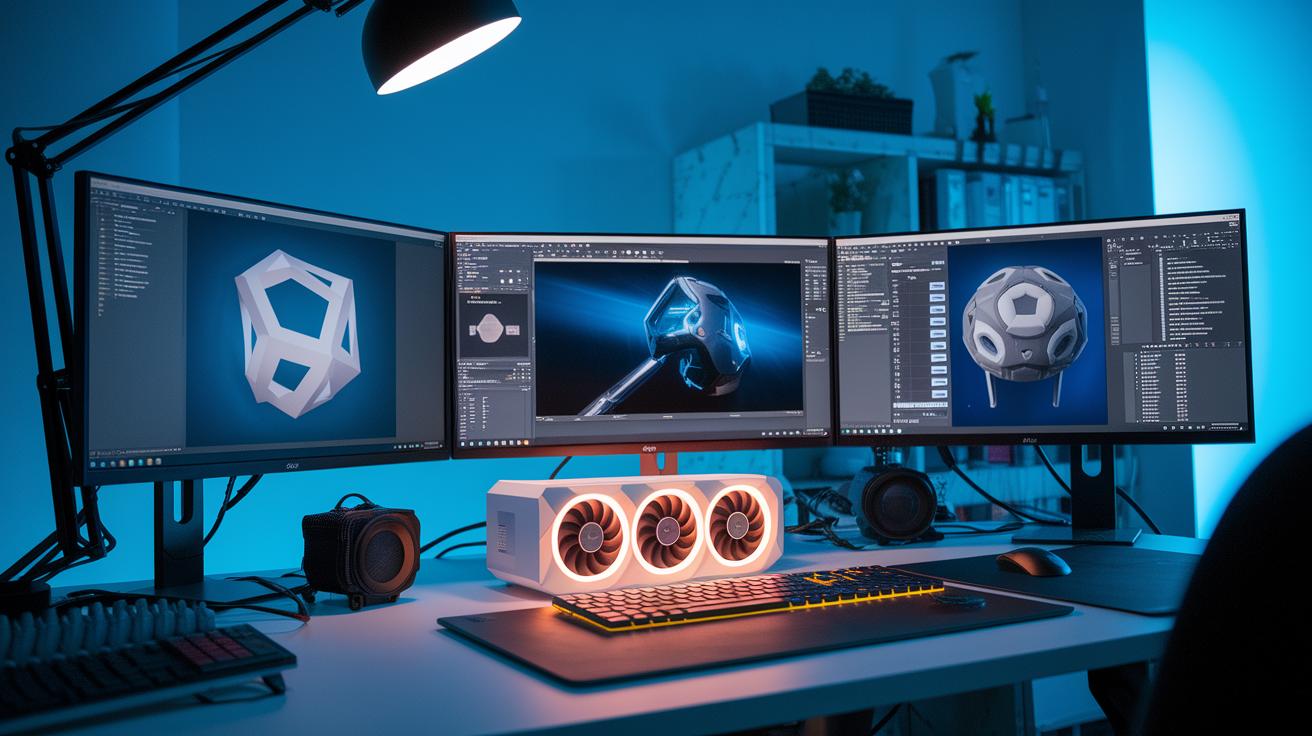
GPU rendering in Maya uses powerful graphics processing units (GPUs) to quickly compute complex scenes and lighting. Instead of relying only on the central processing unit (CPU), Maya taps into modern GPUs to handle tasks like ray tracing (tracking the path of light) and shader evaluation (calculating surface looks). This shift slashes render times and lets you see your work come to life in real time. For more details, take a look at How Does GPU Rendering Work (https://studiogpu.com?p=148).
Benchmarks show that top-tier GPUs can cut render times by about 20% to 40% compared to the best CPUs. Early consumer GPUs typically had 4–8 GB of video memory (VRAM), which limited how detailed your scenes could be. Today’s advanced GPUs, like the RTX 3090, offer 24 GB of VRAM, and many studios even pool several GPUs to beat memory limits. This boost in VRAM lets you work with more complex scenes and high-quality textures without slowing down your workflow.
This progress in GPU tech has a big impact on artist workflows and production pipelines. Quick render times mean less waiting and more time for creativity, which is key in busy production environments. Faster iterations help teams work together more smoothly and speed up revisions. With GPU rendering, studios can deliver top-quality outputs quickly, making it a must-have tool for modern 3D, VFX, and animation projects.
Setting Up GPU Acceleration in Autodesk Maya
Before you start with GPU rendering in Maya, make sure your system meets the basics. You need Windows 10 or later, the Visual Studio 2019 Redistributable (a package of shared software components), and the latest drivers for your graphics card. These steps help Maya use modern GPUs to speed up both the interactive preview and the final render.
Next, set Maya to work with your GPU. Open Maya and go to the Render Settings. In the System tab, look for the Render Device option. Change it from CPU to GPU. You might see an option like "Use GPU for render" , just select that and confirm. This change makes sure the software takes full advantage of your hardware.
Finally, check that GPU acceleration is active. Create a test scene with reflective surfaces and detailed lighting. Look at the viewport; if things feel smoother and updates come faster, your GPU is working as expected. This means you can spend more time creating and less time waiting.
Essential Hardware Requirements for GPU Rendering in Maya
Modern GPU rendering in Maya needs more than just a good graphics card. Your GPU's memory (VRAM) is key for managing complex textures, high-resolution assets, and detailed lights. Likewise, having plenty of CUDA cores (the parts of the GPU that process tasks in parallel) helps Maya work through intricate scenes much faster. For example, an upgraded card like the NVIDIA RTX 3090 with 24 GB VRAM lets you tackle large projects without running out of memory.
Pairing a high-end GPU with a fast CPU , such as an Intel Core i9 or AMD Ryzen 9 , keeps things smooth and avoids slowdowns when both the CPU and GPU share heavy workloads. And when you have very large or detailed render tasks, you can use server-grade setups that combine several GPUs. This multi-GPU pooling gives you nearly unlimited VRAM, boosting overall performance and cutting down render times.
| GPU Model | VRAM | CUDA Cores | Recommended Use |
|---|---|---|---|
| RTX 3060 | 12 GB | 3584 | Entry and mid-level projects |
| RTX 3080 | 10 GB | 8704 | High-performance tasks for tighter budgets |
| RTX 3090 | 24 GB | 10496 | Complex scenes and professional workflows |
Using the right GPU alongside a strong CPU and considering multi-GPU setups will power up your creative work in Maya. This setup ensures that hardware limits do not stand in the way of your creative vision.
Tuning GPU Render Settings in Maya for Maximum Efficiency

When you adjust GPU render settings in Maya, focus on the factors that affect noise and image quality. GPU rendering (using a graphics processing unit) tends to create more noise than CPU rendering because it usually relies on single-path sampling. This means you might need to increase anti-aliasing (AA) samples – which smooth out edges – or switch to adaptive sampling. Adaptive sampling automatically changes the sample count in busy areas to balance quality with render speed.
In addition to changing sampling settings, we recommend using NVIDIA Studio Drivers along with AI-powered denoisers. These drivers come with optimizations that lower noise without needing a high sample count, so you get sharper images with less work. This approach gives you cleaner results that match your vision and helps speed up your creative process.
Arnold 7.2.1 also adds several GPU-friendly features that boost your workflow. Global light sampling and a new distance shader help create smoother gradients and more accurate lighting in ray-traced scenes. With GPU acceleration on your side, you can refine render settings to improve both quality and performance. Try out these settings to find the best balance for your projects and save time on every render.
Arnold GPU Setup in Autodesk Maya: Step-by-Step

Arnold’s GPU power has been available since version 6. Over 300 film and VFX studios now use this feature to speed up render times while still delivering the same quality as CPU renders.
Enabling Arnold GPU Mode in Maya
Open Maya’s Render Settings and go to the System tab. Change the Render Device from CPU to GPU. This tells Arnold to use your graphics processing unit (GPU) for quicker previews and final renders.
Example: "Switch Render Device from CPU to GPU in Maya Render Settings."
Adjusting Device Settings
After you switch to GPU mode, adjust the advanced settings for the best performance. Tweak the thread count and memory limits to match what your GPU can handle, which keeps detailed, high-resolution scenes running smoothly.
Example: "Set thread count to 8 on an 8-core system and adjust memory limits to avoid over-allocation."
Leveraging New Arnold GPU Features (v7.2.1)
Arnold version 7.2.1 brings useful upgrades for GPU rendering. These include added support for Universal Scene Description (USD), global light sampling for smoother color gradients, and a new distance shader to sharpen lighting details. Use these new settings in your workflow as needed.
Example: "Activate the distance shader and use global light sampling to improve lighting transitions."
V-Ray GPU Rendering Workflow in Maya
When you set up V-Ray GPU in Maya, start by switching the Render Device to GPU. This lets you use CUDA (NVIDIA compute toolkit) and RTX (real-time ray tracing) to speed up ray tracing and global illumination. This choice makes sure your scenes benefit from the full power of high-performance GPUs. For example, a quick reminder might be: "Switch to V-Ray GPU mode for fast previews."
Next, fine-tune your render settings to boost performance. Adjust the global illumination options and select progressive buckets to keep a good balance between quality and speed. Progressive GPU modes show interactive previews right in the Maya viewport. This means you can tweak lighting and textures in real time, cut down on render noise, and get smooth results even with heavy workloads.
Finally, check that your hardware meets the requirements. Use a GPU with 12 to 24 GB of VRAM and update to the latest NVIDIA drivers. This will ensure that your system can handle complex scenes and high-resolution elements without slowing down. A handy suggestion: "Use progressive buckets to enjoy interactive feedback without sacrificing final image quality."
Troubleshooting GPU Rendering Issues in Maya

GPU rendering issues in Maya usually come in a few forms. They may be caused by problems with GPU detection, driver compatibility, unexpected switching to CPU, noisy images, or application crashes. Knowing these issues helps you find quick fixes and get back to work.
- GPU not shown in Render Devices: update or roll back your GPU driver.
- Render falling back to CPU: check your Render Settings to ensure you are using the GPU.
- Excessive noise: tweak anti-aliasing (AA) samples or enable adaptive sampling to reduce noise.
- Out-of-memory errors: lower texture sizes or adjust the tile size to lower memory use.
- Crashes on launch: install the Visual Studio 2019 Redistributable so every required component is installed.
Start by checking your GPU driver version. Outdated or incompatible drivers can cause detection issues or crashes. Make sure you have the latest drivers installed and consider rolling back a recent update if it caused trouble. Also, confirm your Render Settings are set to use the GPU rather than defaulting to CPU mode. Tuning the noise settings, such as increasing AA samples or trying adaptive sampling, can clear up unwanted noise in your renders. Additionally, managing texture and tile sizes can help prevent memory overload, especially in complex scenes. These steps help streamline your workflow and reduce downtime.
Benchmarking GPU vs CPU Render Performance in Maya
When measuring render performance, we follow a clear method that focuses on key metrics like render time reduction (how much faster frames are completed), VRAM capacity (video memory available), and cost per frame. We use identical scenes under controlled conditions so that the only difference is the render device. Our tests show that high-end GPUs generally render scenes 20–40% faster than similar CPUs when handling ray-traced projects.
| Metric | CPU | GPU |
|---|---|---|
| Render Time Reduction (%) | Baseline | 20–40% |
| VRAM Capacity (GB) | 4–8 | 10–24+ |
| Cost per Frame (USD) | Higher | Lower |
These numbers highlight the performance gap between GPUs and CPUs. While CPUs start out with limited VRAM and slower processing, GPUs not only speed up render times but also offer more memory for complex projects. For tough tasks, flagship GPUs are ideal since they deliver lower cost per frame and robust performance. On the other hand, mid-range GPUs provide a balanced level of performance for everyday needs.
In busy production environments with tight deadlines, choosing high-end GPUs or multi-GPU setups can streamline your workflow. Upgrading to GPU rendering in Maya becomes a smart move for modern studios aiming to boost efficiency and shorten project turnaround times.
Advanced GPU Techniques & Multi-GPU Workflows in Maya
Pooling GPUs lets you combine memory from several graphics cards (VRAM), which helps overcome memory limits in complex projects. When you pool GPUs, you break down challenging scenes across a larger memory space. This not only increases available VRAM but also uses parallel processing to cut down render times. For example, linking four GPUs means you can handle more data at once, allowing intricate textures and lighting without compromise.
Cloud render farms expand your workflow options by providing access to cutting-edge GPUs like the RTX 3090 or RTX 4090. These services deliver multiple GPUs in one scalable solution at competitive prices starting at $8.20 per hour. This setup is perfect for tight deadlines or short, heavy workloads without buying a full, high-end system.
Optimizing performance means balancing the workload evenly across all GPUs. By splitting your scene into clear parts, such as separate render layers or tiles, you keep every GPU busy and avoid overloading one unit. This strategy leads to smoother performance and better resource use, giving you more control over your creative process.
Final Words
In the action, GPU rendering in Maya redefines production workflows, delivering faster renders with streamlined steps from setup to troubleshooting. We discussed everything from hardware specs and tuning methods to multi-GPU strategies and real-world benchmarks.
By breaking down each stage, from enabling GPU mode to addressing render issues, you now have a clear path for elevating your creative or AI projects. Embrace these insights, optimize your sessions with maya gpu rendering, and enjoy more predictable, efficient production results.
FAQ
How does Maya GPU rendering on Reddit reflect user experiences?
Discussions on Reddit about Maya GPU rendering highlight real user experiences, troubleshooting tips, performance insights, and practical advice to optimize workflows with GPU acceleration.
What does a Maya GPU rendering tutorial cover?
A Maya GPU rendering tutorial covers step-by-step instructions to enable GPU acceleration, adjust render settings, and optimize performance for faster scene renders in Maya.
How do Maya Arnold GPU rendering settings work?
Maya Arnold GPU rendering settings involve switching the render device to GPU, configuring device-specific options, and leveraging features like global light sampling to boost render efficiency.
What does it mean when Maya GPU render is not working?
When Maya GPU render is not working, it indicates issues such as driver mismatches, unsupported hardware, or misconfigured settings; updating drivers and verifying configuration can resolve the issue.
How do Arnold GPU limitations affect rendering?
Arnold GPU limitations include memory restrictions and certain feature gaps compared to CPU mode; understanding these constraints helps balance render quality with efficiency in Maya.
What factors help decide between GPU and CPU rendering in Maya?
The choice between GPU and CPU rendering in Maya depends on scene complexity and hardware; GPU rendering offers faster performance, while CPU mode may be used for compatibility in certain cases.
What causes Maya to report no GPU matching requirements found?
Receiving a “no GPU matching requirements found” message means the current GPU does not meet software or driver criteria; checking hardware compatibility and updating drivers can help resolve the issue.
What is Render Device Fallback in Maya?
Render Device Fallback in Maya occurs when the GPU fails to initiate, prompting the software to switch to CPU mode; ensuring proper device selection and updated drivers prevents this fallback.
Can Maya render with a GPU?
Maya can render with a GPU by enabling GPU acceleration in the render settings; modern GPUs deliver faster processing for complex scenes, enhancing overall render performance.
How do you change Maya render settings from CPU to GPU?
Changing Maya render settings from CPU to GPU involves selecting GPU as the render device in the render settings and confirming that the correct hardware and updated drivers are installed.
Is it possible for Arnold to render with a GPU?
Arnold can render with a GPU when GPU mode is activated in the render settings; verifying the setup and ensuring driver compatibility allows users to benefit from GPU acceleration.
Does Maya run on the CPU or GPU?
Maya runs on both the CPU and GPU, offering the flexibility to use GPU acceleration for faster rendering and improved viewport interactivity, depending on scene requirements and hardware configuration.
