

Do slow render times mess up your creative flow? You might be surprised to learn that a few smart changes to your GPU (graphics processing unit) can help a lot. In this article, we show you simple tricks like cleaning your hardware, adjusting your display settings, and even safe overclocking to keep your system running efficiently. Our step-by-step guide explains each tip in plain language so you can kick up your render speed without harming your hardware. Get ready to cut minutes off your render time and gain back precious creative energy.
Quick GPU Rendering Performance Improvements
Keeping your GPU in top shape is essential for faster render times. Regular cleaning and best airflow practices prevent your system from overheating. Even a quick clean-up before a heavy render can stop unexpected slowdowns. If you are using a laptop, stay plugged in so power-saving modes do not reduce performance when every frame matters.
Tweaking your display settings can also boost performance right away. Turning on features like G-Sync (an NVIDIA technology for smoother visuals) or FreeSync (AMD's equivalent) can help keep your frames even. Think of it like setting your camera on a steady tripod to avoid blurry images during quick movements.
- Update your GPU drivers by visiting the NVIDIA or AMD website to get the latest fixes.
- Clear your system of dust and improve case airflow to lower the risk of overheating.
- Close any unneeded applications so your system can devote more RAM and VRAM to rendering.
- Enable G-Sync or FreeSync on supported monitors to maintain smooth visuals.
- Run benchmarks like Blender Benchmark or test scenes in 3ds Max to set a performance baseline.
These simple, no-cost adjustments help create an optimal environment for your GPU. Routine maintenance and smart display tweaks work together to reduce render times and keep your system stable during demanding tasks.
GPU Overclocking and Clock Tuning for Rendering

Overclocking your GPU boosts render speed by raising core and memory clocks, which quickens parallel shader execution. This method can cut down render times, but it also comes with risks like overheating or crashes if you don't keep a close eye on temperatures and power levels. We suggest making small adjustments, typically around a 5% increase at a time, to find the right balance between performance and stability.
Selecting Overclocking Tools
For controlling your GPU settings, you can use trusted software like MSI Afterburner or the tools provided by your GPU maker. These apps let you tweak clock curves, adjust frequencies, and change voltages so you have precise control. For instance, MSI Afterburner displays clock performance curves that help you decide when to push the GPU further or ease back.
Incremental Clock Adjustments
Begin by slowly raising the core and memory clocks while carefully monitoring temperature and power usage. After each small change, run a few rendering tasks to see how the new settings perform. We recommend adjusting multiprocessor or compute-unit clocks separately to keep the GPU’s workload balanced, which helps maintain smooth and stable performance.
Stress Testing and Stability Checks
Once you’ve made adjustments, use stress testing tools like FurMark or OCCT to check that your GPU remains stable. Keep an eye on temperatures and look out for any unusual behavior, making sure values stay safely below the limits. If you notice instability or spikes in temperature, revert to the previous stable settings right away to protect your hardware and ensure consistent rendering results.
Thermal and Power Management for Stable GPU Rendering
Start by managing your GPU’s cooling system carefully. Adjust the fan curve (the setting that controls fan speed) so that the GPU temperature stays below 80 °C during long rendering sessions. Upgrading to high-CFM case fans or using a custom liquid cooling loop can lower temperatures by 10–20 °C. For instance, set the fan to ramp up quickly when the GPU reaches 70 °C to keep the system stable during heavy work.
Stable power delivery is also key to smooth performance. Using an 80 PLUS Gold+ power supply unit helps deliver consistent power even when the GPU is under full load. This is very important in systems with multiple GPUs, where even small power drops can cause rendering delays.
Good airflow rounds out the cooling setup. Arrange your intake and exhaust fans to move air across critical parts like the voltage regulators (VRMs) and memory modules. A well-planned case layout helps avoid heat pockets, ensuring that every frame gets processed efficiently.
GPU Memory and Data Throughput Optimization

VRAM (video memory) stores textures, models, and other data for fast GPU processing. Optimizing VRAM usage increases data throughput and cuts down delays during heavy rendering. You can adjust VRAM timings through the BIOS or vendor tools to boost bandwidth by 5-10%. This small improvement frees up space for complex scenes and speeds up texture and shading tasks.
| Technique | Benefit |
|---|---|
| Calibrated Memory Timings | Increases bandwidth by 5-10% for quick data transfers |
| Texture Streaming Optimization | Compresses and downsamples background textures to lower VRAM load |
| Instancing & Compression | Reuses meshes and simplifies modifier stacks to reduce memory overhead |
Adjusting render-thread scheduling is another important step. Overlapping texture transfers with shading tasks lets you run tasks in parallel. This method keeps the GPU from getting overloaded, prevents out-of-memory errors, and speeds up scene loading by managing memory efficiently. In the end, a smoother data flow cuts render times and improves system stability during high-demand sessions.
Rendering Engine and API Tweaks for GPU Speed
We can boost GPU performance by streamlining your rendering engine. This means cutting down on CPU work and taking full advantage of parallel processing. Precompiling and caching shaders lets the engine run smoother by avoiding runtime delays. Reducing shader details and combining draw calls also helps lower redundant calculations. Using asynchronous compute allows tasks to overlap, ensuring each frame is processed with fewer delays.
Storing precompiled shaders is key to efficient rendering. Whether you use Unity Shader Variants or Unreal Derived Data Cache, having these ready means the GPU can quickly perform routine calculations without waiting for recompilation. Think of it like having your most-used tools organized on a workbench, keeping the graphics pipeline clear and available for peak performance.
Improving the compute pipeline goes beyond just caching shaders. Enabling asynchronous compute means the GPU can run compute tasks side by side with rendering commands. Following vendor guides such as NVIDIA Nsight can help set the thread-group sizes so the workload is evenly shared. Lowering the frequency of dynamic global illumination checks and reducing shader details further cuts down processing delays. These tweaks lead to faster task completion and help avoid wasted energy from unnecessary task switching.
The choice of graphics API also matters. Modern APIs like DirectX 12 and Vulkan are built to reduce CPU overhead and handle parallel operations efficiently. While Open Graphics Library works well for simpler projects, complex scenes benefit from the advanced features of DirectX and Vulkan. This choice affects everything from shader compilation speeds to overall image quality, giving you better control over both performance and visuals.
Multi-GPU and Hardware Configuration for Rendering Acceleration
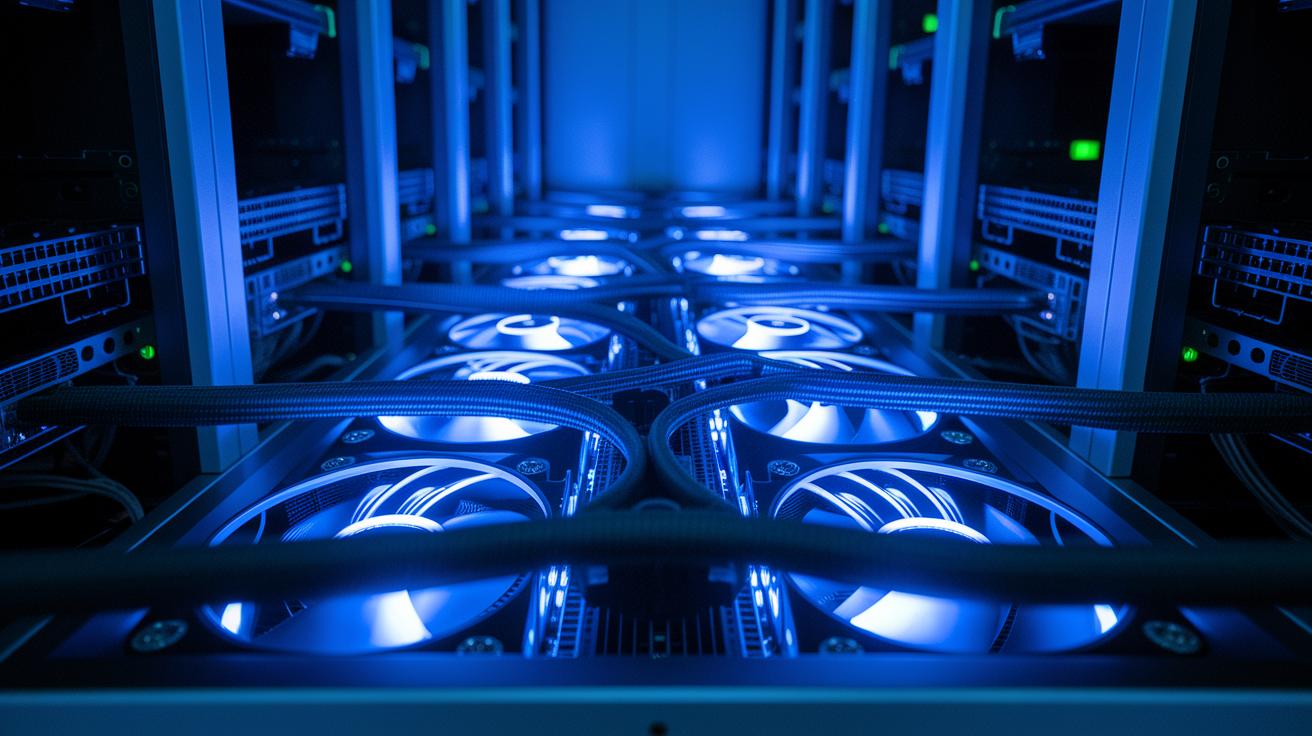
Start by setting up your system to run multiple GPUs. Connect your GPUs using SLI, NVLink, or AMD Infinity Fabric (a high-speed interconnect that lets cards share VRAM) so that they can balance the work across cards efficiently. Ensure each GPU gets a full x16 PCIe lane to prevent any slowdowns due to limited bandwidth. If you need extra boost, consider adding a network render farm solution like Blender Network Render or Deadline. This lets you split frames over multiple machines, making your rendering work faster and more efficient.
Next, prepare your hardware for even load distribution. Check that your workstation has a strong power supply and a cooling system that can handle extra heat. Use the manufacturer’s monitoring tools to keep an eye on each GPU’s workload and adjust settings if one chip is overburdened. Sharing the work evenly stops any single GPU from becoming a bottleneck, so you get smoother and quicker rendering sessions.
Finally, try scaling your system with 2 to 8 GPUs to see when you reach the point of diminishing returns. In other words, figure out when adding more GPUs stops making a noticeable difference in performance. This test not only ensures you invest wisely but also helps you get clear ROI on your hardware upgrades.
Benchmarking and Monitoring GPU Rendering Performance
Continuous monitoring helps us track performance changes and make sure render optimizations are working as expected. By keeping an eye on metrics like GPU clock speeds, temperatures, and usage, you can catch early signs of any slowdown or improvement. Tools such as GPU-Z, MSI Afterburner (which logs data on power draw and usage), and NVIDIA Nsight give you real-time insights into how your GPU behaves under load. Running benchmark tests like OctaneBench and Redshift Probe lets you set a clear performance baseline and evaluate the impact of your adjustments. Calibration guides explain how to read measurements such as FPS (frames per second), frame time differences, and VRAM (video memory) spikes, which are vital for fine-tuning your setup.
Selecting Benchmark Tools
You can rely on GPU-Z to monitor clock speeds and temperatures, MSI Afterburner logs to review power draw and utilization, and NVIDIA Nsight for detailed performance data. These tools report metrics like frame time and resource usage to help you understand your current render performance.
Analyzing Results and Next Steps
After each configuration change, review your logs and compare before and after results using benchmarks. This helps determine if further adjustments are needed. A steady, step-by-step approach keeps your rendering workflow running smoothly over time.
Final Words
In the action, the post guides you through quick performance fixes, from routine maintenance and display tweaks to fine-tuning clocks, managing thermal loads, and optimizing VRAM. It then walks through software tweaks and multi-GPU strategies, coupled with benchmarking to track gains. These insights help you achieve better stability, lower render times, and efficient cost management. Follow these tips and see how to improve gpu performance for rendering, boosting both speed and reliability in your daily production tasks.
FAQ
How to improve GPU performance for rendering on Reddit, Windows 10, and Windows 11?
Improving GPU performance for rendering on Reddit and Windows involves updating drivers from the vendor site, keeping your hardware dust-free, and closing unnecessary programs to free up system and VRAM resources.
How to boost integrated GPU performance?
Boosting integrated GPU performance involves updating the proper drivers, cleaning the system internals, and adjusting visual settings to reduce extra load on the GPU.
How to increase GPU performance on laptops, Android, and mobile devices?
Increasing GPU performance on laptops and mobile devices means using the latest drivers, staying plugged in on laptops to avoid power-saving throttling, and selecting performance modes when available.
Is 32 GB of RAM enough for 3D rendering?
While 32 GB of RAM generally supports 3D rendering and mid-sized projects, larger scenes with high-resolution textures may need additional memory for smoother workflows.
How do I boost my GPU performance and is 90% GPU usage bad?
Boosting GPU performance includes updating drivers, managing cooling, and optimizing applications, while 90% GPU usage typically means effective resource utilization, though it should be monitored for thermal issues.
What roles do MSI Afterburner, GeForce Experience, ASUS GPU Tweak, AMD Radeon Software, Heaven Benchmark, and HWMonitor play in GPU performance?
These tools help monitor and adjust GPU performance; they provide features for overclocking, stress testing, temperature logging, and driver updates to maintain smooth rendering operations.
